


As an Amazon Associate I earn from qualifying purchases. All claims are strictly my personal opinion.
For car paint, the grit depends on the step: 80 to 180 to take paint and filler down, 320 before primer, 400 to 600 on primer before color, and 1500 to 3000 wet to take defects out of cured clear coat before polishing. Each grit only has to remove the scratches of the one before it, so you never jump from 180 straight to 2000, and you never touch paint you want to keep with anything coarser than about 1000.
Below is a grit chart for every stage of a paint job, a step-by-step guide to wet sanding clear coat, the mistakes that burn through paint, and the few supplies worth buying. If you are shopping for a machine for the coarse stages, see my guide to the best sander for auto body work.
⚡ Quick Answer
Removing paint or shaping filler: 80 grit, then 180 to feather the edges.
Before primer: 320. Before base coat: 600 (400 only if your paint’s data sheet allows it).
Wet sanding clear coat: 1500, then 2000, then 3000, then compound and polish. A pack like the 3M Wetordry 03006 covers 1000 to 2500.
Car Paint Sandpaper Grit Chart
These ranges follow the auto body grit guides published by Summit Racing and by NAINC, which agree on the sequence and differ only by a step here and there. When your primer or paint comes with a technical data sheet, its grit wins over any chart, including this one.
| Job | Grit | Wet or dry | Notes |
|---|---|---|---|
| Stripping paint to metal | 40 to 80 | Dry | Usually on a DA sander; 80 leaves less to fix |
| Shaping body filler | 80 | Dry | 40 only for reinforced filler; block sand, don’t chase it with a DA |
| Feathering edges, removing chips | 150 to 180 | Dry | Blends the old paint into bare metal or filler |
| Final sanding before primer | 320 | Dry | Removes 180 scratches that primer won’t fill |
| Sanding primer before color | 400 to 600 | Dry or wet | 600 is the safe default under base coat |
| Scuffing old paint for a blend | 600 to 800 | Wet | Dulls the surface so new clear bonds |
| Removing runs, dust nibs, orange peel | 1500 to 2000 | Wet | Clear coat only; 1000 for a heavy run |
| Refining before polish | 2500 to 3000 | Wet | Makes compounding much faster |
Grit
- Stripping paint to metal
- 40 to 80
- Shaping body filler
- 80
- Feathering edges, removing chips
- 150 to 180
- Final sanding before primer
- 320
- Sanding primer before color
- 400 to 600
- Scuffing old paint for a blend
- 600 to 800
- Removing runs, dust nibs, orange peel
- 1500 to 2000
- Refining before polish
- 2500 to 3000
Wet or dry
- Stripping paint to metal
- Dry
- Shaping body filler
- Dry
- Feathering edges, removing chips
- Dry
- Final sanding before primer
- Dry
- Sanding primer before color
- Dry or wet
- Scuffing old paint for a blend
- Wet
- Removing runs, dust nibs, orange peel
- Wet
- Refining before polish
- Wet
Notes
- Stripping paint to metal
- Usually on a DA sander; 80 leaves less to fix
- Shaping body filler
- 40 only for reinforced filler; block sand, don’t chase it with a DA
- Feathering edges, removing chips
- Blends the old paint into bare metal or filler
- Final sanding before primer
- Removes 180 scratches that primer won’t fill
- Sanding primer before color
- 600 is the safe default under base coat
- Scuffing old paint for a blend
- Dulls the surface so new clear bonds
- Removing runs, dust nibs, orange peel
- Clear coat only; 1000 for a heavy run
- Refining before polish
- Makes compounding much faster
Why the Order Matters
Summit Racing puts the rule in one line: each grit in the sequence is chosen because it can completely remove the scratches left by the step before. That is why you can start later in the chart when the surface is already good (a small chip can start at 180, primer that needs no corrections can go straight to 600), but you can never skip ahead. Paint and primer shrink as they cure, and a 180 scratch that looks filled today shows through the color a week later.
What Grit to Wet Sand Car Paint
Wet sanding is almost always done on clear coat, to flatten orange peel or take out a run, dust nib or bug stuck in the finish. The usual sequence is 1500, then 2000, then 3000, followed by a cutting compound and a finishing polish. Start at 1000 or 1200 only for a heavy run, and only on fresh paint with plenty of clear on it.
3M sells its Wetordry assortment for exactly this job: its listing describes the 1000, 1500, 2000 and 2500 grit sheets as meant for clear coat sanding and paint defect removal, wet or dry. Base coat is a different story: in a base and clear system you normally leave the base coat alone once it is sprayed, and if it needs a fix, the paint’s data sheet tells you how.
⚠️ Important
Every pass removes clear coat, and a factory finish has no clear to spare. Don’t wet sand edges, body lines or the tops of creases, where the clear is thinnest and burns through first. If you can’t tell how much clear a panel has, test in a hidden spot or leave it to a body shop with a paint thickness gauge.
How to Wet Sand a Car, Step by Step
- Let the paint cure. Follow the clear coat’s data sheet. Sanding soft clear clogs the paper and leaves deep marks.
- Wash and dry the panel, so grit on the surface doesn’t get dragged under the paper.
- Mask edges and body lines with tape, so you can’t sand through them by accident.
- Soak the paper in a bucket of water with a drop of car wash soap for a few minutes. The soap helps the paper glide.
- Wrap the paper on a block or pad. Fingers alone press harder in some spots than others and leave grooves. A flexible foam block follows curved panels.
- Keep the surface wet with a spray bottle, and sand with light pressure in straight, overlapping strokes. Change direction by 90 degrees with each new grit, so you can see when the old scratches are gone.
- Squeegee and check often. Wipe the slurry off and look at the panel under light. When the surface is an even, flat haze with no shiny low spots, that grit is done.
- Step up through the grits: 1500, 2000, then 3000. Each one only needs to remove the previous scratch.
- Compound, then polish. A cutting compound on a machine polisher removes the 3000 haze, and a finishing polish brings back the gloss.
Wet Sanding vs Dry Sanding
Dry sanding is faster and is the normal way to work filler, bare metal and most primer, usually with a DA sander and dust extraction. Wet sanding keeps the paper from loading up, cuts more smoothly and leaves a finer scratch, which is what you want on clear coat and on primer just before color. Wet or dry paper made with a waterproof backing, like the 3M Wetordry line, works both ways.
Common Mistakes
- Skipping grits. Going from 180 to 600 on primer leaves scratches that show through the color.
- Sanding the whole car at 1500 “to be safe”. Wet sanding removes clear; sand only where there is a defect or orange peel you need to flatten.
- Using your fingertips. They leave grooves. Use a block.
- Letting the surface dry out. Dry spots clog the paper and it starts to scratch.
- Stopping at 2000 and polishing by hand. It works on a small spot, but a machine polisher and a finer last grit save hours on a whole panel.
- Using woodworking paper on paint. Wood sheets are built for different jobs; for grit choices on wood, see what grit sandpaper for wood.
⚠️ Protect Your Lungs
Dry sanding filler, primer and old paint makes fine dust, and old finishes can contain lead. Wear a fitted respirator with particulate filters, and read the paint maker’s safety sheet before you spray anything. My guide to the best respirators covers the filter types.
What You Need
For the coarse stages, a 5″ or 6″ DA (random orbital) sander with hook-and-loop discs saves most of the work; I compare air and electric models in the best sander for auto body guide. For wet sanding, all you need is good paper and a block. For the whole process on a car, from rust to primer, see how to sand a car.
3M Wetordry Sandpaper 03006, Assorted 1000 to 2500

Best Paper for Wet Sanding Clear Coat
One sheet each of 1000, 1500 and 2500 and two of 2000 grit, 3-2/3″ x 9″, with a silicon carbide abrasive on a flexible waterproof backing. 3M lists the pack for clear coat sanding and paint defect removal, wet or dry. Five sheets are enough for spot repairs on a panel or two; for a whole car, buy the grits you use most in larger packs.
- ✅ The grits you need for clear coat
- ✅ Wet or dry
- ❌ Only five sheets
- ❌ No 3000 in the pack
Best For: Runs, dust nibs and orange peel on a panel or two.
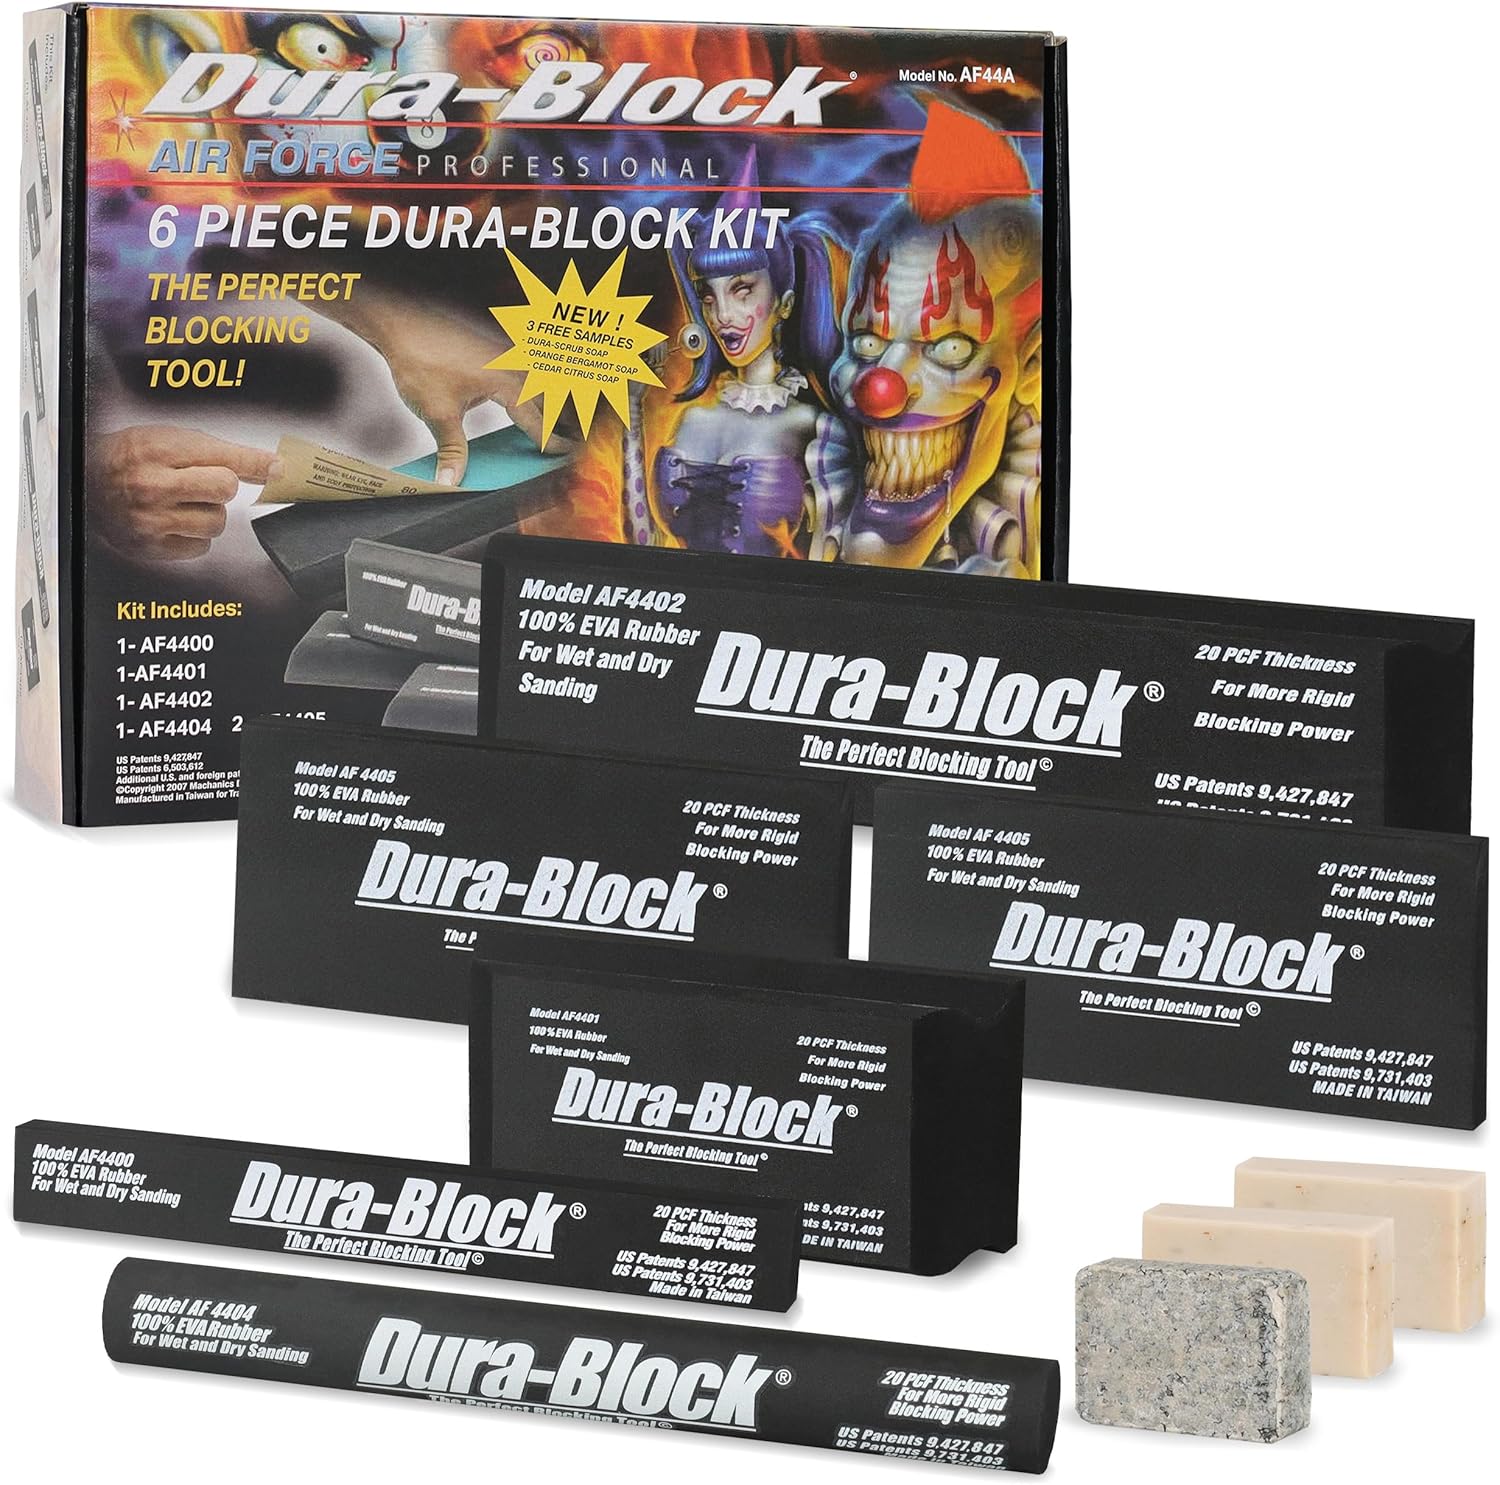
Dura-Block 6-Piece Auto Body Sanding Block Set
Best Sanding Blocks for Car Panels
Six closed-cell EVA foam blocks that don’t soak up water, so they work the same wet or dry: an 11″ standard block for panels, a 2/3 and a 1/3 block, an 11″ round block for concave creases, and two scuff blocks. You stick PSA (sticky-back) sandpaper to the face, which isn’t included. A long, flat block is what levels filler and primer; fingers alone leave grooves.
- ✅ Sizes for panels, flares and creases
- ✅ Won’t soak up water
- ❌ Needs PSA paper, sold separately
Best For: Block sanding filler and primer, and wet sanding larger areas.
🏆 The Verdict
Work down the chart and don’t skip steps: 80 for paint and filler, 180 to feather, 320 before primer, 600 before color, and 1500 to 3000 wet on clear coat before you compound and polish. Keep a block under the paper, keep the surface wet, and stay away from edges and body lines. When a run is too deep for paper and a block, it is a job for a machine: start with the best sanders for auto body work.
❓ Frequently Asked Questions
Will 2000 grit sandpaper scratch car paint?+
Will 220 grit remove paint?+
Is 3000 grit safe for car paint?+
Should I use 400 or 600 grit before paint?+
What grit sandpaper is best for auto body work?+
Working on a repair right now? Tell me the stage you’re at and the problem you see in the comments, and I’ll suggest the grit to use next.

