
As an Amazon Associate I earn from qualifying purchases. All claims are strictly my personal opinion.
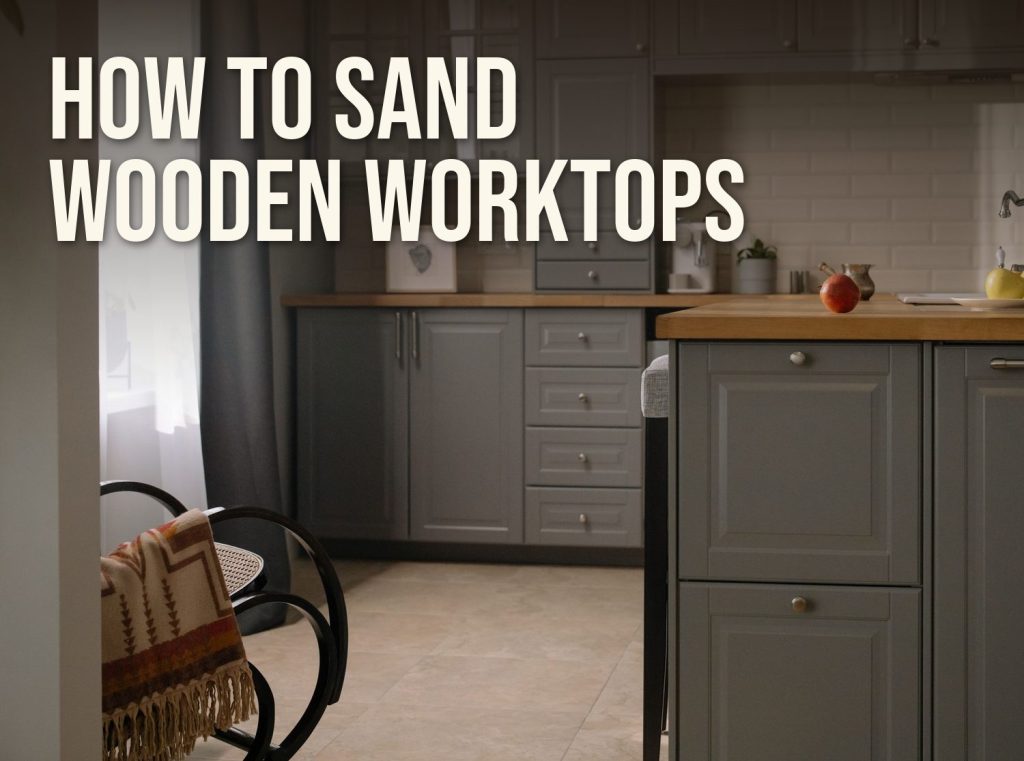
Sanding wooden worktops, or a butcher block countertop, takes a random orbital sander, a grit sequence that starts at 80 or 120 depending on the damage, and a final grit chosen for the finish you’ll apply: 120 to 150 for a hardwax oil like Rubio Monocoat or Osmo TopOil, 220 for Danish oil, butcher block oil or mineral oil. Sand along the grain, vacuum between every grit, then oil straight away in thin coats and wipe off every bit of excess.
Wooden worktops are one of the most satisfying features in a kitchen: warm, natural, and genuinely beautiful when well-maintained. They’re also one of the few kitchen surfaces you can fully restore yourself. Scratches, stains, knife marks, water rings, and dullness that accumulate over years of use can be sanded back to bare wood and refinished as many times as the worktop’s thickness allows. Done correctly, a freshly sanded and oiled worktop looks as good as new.
⚡ Quick Answer
Sander: a 5″ random orbital sander for the whole top, a 1/4 sheet sander for the inside corners against the wall, and a folded sheet by hand around the sink and hob cutouts.
Grits: start at 80 for deep marks and black stains, 120 for normal wear, 150 for a light refresh, and don’t skip a step on the way up.
Finish: stop at 120 to 150 for Rubio Monocoat or Osmo TopOil; go to 220 for Danish oil, butcher block oil or mineral oil.
⚠️ Important
Solid wood worktops can be sanded many times, but not infinitely. Each sanding removes a thin layer of wood. If your worktop has been heavily sanded before, check the remaining thickness around the sink cutout and any thinner areas before proceeding aggressively. Very thin worktops (approaching 20mm or less in an original 40mm worktop) should be sanded lightly rather than stripped. And if the top is laminate or a wood-effect veneer rather than solid wood, don’t sand it at all: it goes through to the core in seconds.
Worktop or Butcher Block Countertop: the Same Job
In the UK it’s a wooden worktop; in the US it’s a butcher block countertop. Both are solid hardwood (oak, beech, walnut, maple or iroko are the usual ones) made from strips glued edge to edge, and both are sanded and oiled the same way. The differences that matter for sanding are the species and the finish already on it, not the name.
- Oiled tops (most UK worktops, and most butcher block sold unfinished in the US) can be sanded straight back to bare wood with a random orbital sander.
- Varnished or polyurethaned tops have a film on top. Start at 80 grit to cut through it, and expect the paper to clog faster.
- Mineral-oiled tops that have been wiped with oil for years can be greasy deep down. Scrub them with warm soapy water and let them dry for a day before you sand, or the oil clogs every disc.
- End-grain blocks (the chequerboard pattern) soak up far more oil and show swirl marks more easily. Sand them with lighter pressure and an extra grit step.
The Best Sander for Sanding Kitchen Worktops
A random orbital sander is the most effective tool for kitchen worktops. It covers the surface efficiently, the random pattern prevents directional scratch marks, and it produces a consistent result across the full worktop in a fraction of the time hand sanding takes. A 5″ model with variable speed and a vacuum port is all a kitchen needs; a 6″ pad is faster on a long run of worktop but heavier to hold along a wall.
For corners, edges, and areas around the sink cutout where the sander can’t reach, hand sand with a folded piece of paper at the matching grit stage. Hand sanding alone is fine for light refreshing before re-oiling, a single pass with 180 to 220 grit on a worktop in good condition, but for any significant material removal (deep scratches, staining, stripping old finish), a sander produces a substantially more even result.
| Tool | Use it for | Verdict on a worktop |
|---|---|---|
| 5″ random orbital sander | The whole top, every grit | ✅ The main tool |
| 1/4 sheet (palm) sander | Inside corners, along the upstand or splashback | ✅ Worth having for L-shaped kitchens |
| Detail (mouse) sander | Tight spots round taps and the hob | Optional |
| Sanding block or sponge | Edges, sink cutout, final pass with the grain | ✅ Always |
| Belt sander | Only a top with deep burns or gouges, in skilled hands | ❌ Digs grooves and dips |
A belt sander removes wood fast, which is exactly the problem on a worktop: a moment’s tilt leaves a dip that shows under oil, and it can’t reach the back edge against the wall. If you’re weighing the two, my belt sander vs orbital sander comparison explains when each one wins, and the best random orbital sanders list has more models than the picks below.
What Sandpaper to Use on Wooden Worktops
Use aluminium oxide hook-and-loop discs on the sander and the same grits in sheets for hand sanding. Aluminium oxide cuts hardwood well and is what most disc assortments are made of; silicon carbide wet/dry paper is useful for the very fine grits by hand, but you don’t need it for a worktop. The key is understanding which grit to start with and when to progress to the next stage:
- ✅ 80 grit: Use only when you have deep scratches, significant staining, or heavily built-up old oil or varnish finish. This grit removes material quickly and leaves a deep scratch pattern you’ll need to work through with finer grits.
- ✅ 120 grit: The standard starting grit for worktops with normal wear and minor surface scratches. Removes old finish and light damage efficiently without aggressive material loss.
- ✅ 150 to 180 grit: Removes the scratch marks from the coarser pass. The surface should feel smooth and look consistent by the end of this stage.
- ✅ 220 grit: Final pass before a thin oil (Danish oil, butcher block oil, mineral oil). Produces the fine, even surface that allows oil to absorb uniformly.
The Final Grit Depends on the Oil
This is where most worktop guides, including the first version of this one, oversimplify. The maker of each finish says how fine to sand, and the hardwax oils want a coarser surface than the traditional oils, because they bond to open wood fibres:
| Finish | Sand to | Coats | Drying and use | Food contact (maker) |
|---|---|---|---|---|
| 120, 150 at most | 1 | Light use 24 h, full cure 5 days | Certified food contact compliant; not for cutting surfaces | |
| 120 to 180, by species | 2 on bare wood | 8 to 10 h per coat (clear) | Made for food-contact surfaces (EN 1186); EN 71.3 for toys | |
| 120, 150, 180, 220 | 2 or more | Touch 6-8 h, recoat 72 h | No claim on the data sheet | |
| 150, 180, 220 | 2 or more, scuff with 400 between | Recoat 6 h, normal use 72 h | Safe when fully dried (21 CFR 175.300) | |
| 220 | 3-4 on new or thick wood | Stand 1 h to overnight; never cures | Food-grade mineral oil |



Sanding a hardwax oil worktop to 240 doesn’t make it smoother once oiled; it burnishes the surface so the oil sits on top and wears off sooner. For the full grit-by-job picture, see my sandpaper grit chart and what grit sandpaper for wood.
💡 Pro Tip
The final sanding pass determines oil evenness. Oil penetrates wood through open pores. If the final sanding leaves an inconsistent surface (some areas more open-grained, some slightly burnished) the oil absorbs at different rates and leaves a patchy, uneven colour. Finish the whole top at the same grit, sanded consistently across the full surface. Vacuum and wipe with a tack cloth immediately before oil application: dust in the pores affects absorption.
Do You Need to Sand a Worktop Before Oiling?
Yes, before the first oiling and whenever the old finish is damaged, stained or patchy. Oil penetrates wood through its open pores. An existing finish (old oil or varnish) seals those pores, which means oil applied over an unsanded, worn surface absorbs unevenly, producing a patchy result. Sanding removes the old surface layer and opens the pores uniformly.
Even a light pass with your final grit before a maintenance oil application makes a significant difference to how evenly the new coat absorbs. This is one of the most common mistakes I see: people assume they can re-oil without sanding because the surface “looks fine.” The result is usually uneven colour and reduced protection.
When You Can Re-Oil Without Sanding
There’s one honest exception. If the worktop is clean, sound and simply dry, some makers say you can skip the sander: Osmo’s instructions for TopOil say that for renovations one coat on the clean surface is normally enough, without sanding. Rubio Monocoat is the opposite case: Oil Plus 2C only bonds to raw wood, so a Rubio top that needs more protection gets a light abrasion with a maroon pad (Rubio rates it at about 320 grit) or a full sand back, not just another coat.
Step by Step: How to Sand and Refinish a Wooden Worktop
The process is straightforward when you follow a consistent approach. I’ll walk you through each stage so your worktop refinish delivers professional-looking results:
Step 1: Clear, Clean and Protect
Remove everything from the surface. Clean with warm soapy water to remove grease, cooking residue, and wax. Dry completely before sanding: sanding damp wood raises the grain unevenly and creates a fuzzy texture that prevents smooth final finishes. Pay special attention to areas around the stove and sink where oil and food residue build up. Then mask the sink, the hob edge and the splashback with tape, and cover the cupboard fronts below: fine dust gets everywhere in a kitchen.
Step 2: Start With the Right Grit
Assess the surface condition and choose your starting point accordingly. Deep scratches, burns or black water stains: start at 80 grit. Normal wear: start at 120 grit. Light refresh before re-oiling: start at 150 grit. Sand the entire surface systematically along the grain with the orbital sander, keeping the machine moving and using consistent overlapping passes. Avoid pressing hard or staying in one spot: let the sander’s weight do the work. Connect a shop vac or dust extractor to the sander’s port; with a vacuum attached the paper cuts longer and the kitchen stays cleaner (see the best shop vacs for dust collection).
Step 3: Deal With Stains, Black Marks and Dents
Black marks round the sink and under the kettle are usually water that reacted with the tannin in oak; they often go deeper than a sanding pass can reach. Sand the area at 80 first. If the grey or black shadow is still there, an oxalic acid wood bleach is the usual fix, and my guide to removing water stains from wood explains the difference between white rings and black stains. Deep knife cuts that won’t sand out can be filled before the final grits; the wood filler vs wood putty guide covers which one to use.
Step 4: Progress Through the Grits
Vacuum and wipe with a tack cloth between every grit change. Coarse particles left on the surface get picked up by the finer grit and create anomalous deep scratches that ruin your finish. Work up to the final grit your oil asks for (see the table above). Don’t skip grits: each one removes the scratch marks of the previous stage. Jumping from 80 straight to 150 or from 120 straight to 220 leaves visible scratches that no amount of oil can hide.
Step 5: Edges, Corners and the Sink Cutout
The round pad of an orbital sander stops short of the wall and the inside corners. Finish those strips with a 1/4 sheet sander or a sanding block at the same grit, with the grain. Ease the sharp front edge with a couple of light passes so the finish doesn’t wear through there first, and sand the inside of the sink cutout as far as you can reach: it’s the part of the worktop that takes the most water, and the end grain there soaks up oil faster than the face.
Step 6: Clean Thoroughly Before Oiling
Vacuum, then wipe the entire surface with a tack cloth. Apply oil immediately: freshly sanded wood that sits uncovered picks up dust and fingerprint oils that affect absorption evenness. This is one of those small details that separates a mediocre result from a great one.
Step 7: Apply Oil in Thin Coats
Using a clean cloth or pad, apply oil along the grain in thin, even strokes, let it soak in for the time on the label, then wipe off all excess oil with a clean dry cloth. Watco gives 5 to 10 minutes for its Danish Oil; Rubio says the whole application, including buffing off the excess, should be done within about 15 minutes. No pooling or wet-looking areas should remain: oil left on the surface dries tacky (see FAQ for troubleshooting). Oil the underside of the edges and the end grain too, so the top takes up and loses moisture evenly. With Danish or butcher block oil, I’ve found that most kitchen worktops look their best with three coats, as each one builds depth and warmth in the wood; with a hardwax oil, follow the maker instead (one coat for Rubio, two for Osmo on bare wood).
⚠️ Oily Rags Can Catch Fire
Cloths soaked in drying oils (Danish oil, hardwax oils, butcher block oil) heat up as they cure and can ignite on their own in a pile. Lay them flat outside to dry, or put them in a sealed metal can filled with water, and follow the disposal note on the can.
Step 8: Let It Cure Before Daily Use
Dry to the touch isn’t ready for a wet sponge and hot pans. Watco asks for 72 hours before normal use of its Butcher Block Oil & Finish, and Rubio says Oil Plus 2C takes 5 days to cure fully, with no liquids left on it in that time. Keep the kettle and the draining board off the new finish until then.
Choosing the Right Oil or Finish After Sanding
Once you’ve sanded back to bare wood, you have several finish options. Your choice depends on your kitchen’s moisture levels, how much maintenance you’re willing to do, and the look you prefer:
- ✅ Hardwax oil (Osmo TopOil, Rubio Monocoat Oil Plus 2C): Bonds into the top layer of the wood with a little wax at the surface. The most water-resistant of the oils, matte to satin, and spot-repairable. Best choice for a worktop round a sink.
- ✅ Danish oil and worktop oil: A blend of oil and varnish that hardens in the wood. Natural matte-to-satin appearance that feels like wood. Easy to maintain: a light sand and re-oil refreshes without stripping back. Needs re-oiling more often than a hardwax oil.
- ✅ Food-grade mineral oil and butcher block conditioner: Never hardens, so it gives the least protection and needs topping up often, but it’s the simplest to apply and the standard choice for a block you chop on directly.
- ✅ Varnish / polyurethane: Forms a hard protective surface film. More resistant to water and staining. Harder to repair when scratched: damaged sections require stripping the full film. Right choice for very wet areas or a top you never cut on.
- ✅ Wax: Softest protection, beautiful natural sheen. Not suitable as sole treatment on a kitchen worktop: use as a top layer over cured oil for added sheen, not as primary protection.
ℹ️ Did You Know?
Most kitchen worktops perform beautifully with an oil finish, which is why I recommend it as the default choice. The key advantage is maintenance: you can spot-repair and re-oil without affecting the rest of the surface. With varnish, any damage typically means refinishing the entire worktop.
How to Sand and Refinish a Butcher Block Countertop
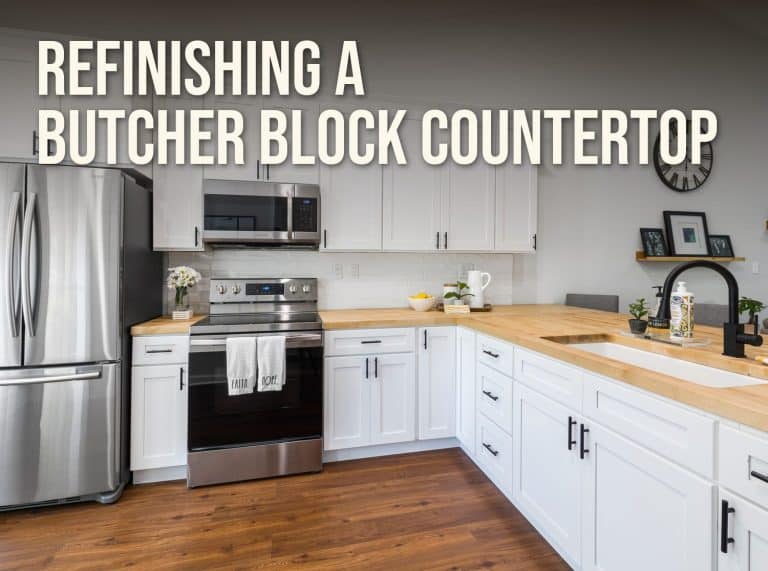
Refinishing a butcher block countertop follows the same steps as a worktop, with three US-specific choices to make before you open a can.
Is It a Prep Surface or a Cutting Surface?
If you’ll chop directly on the countertop, use mineral oil or a butcher block oil you can reapply after every deep scrub. Rubio Monocoat says plainly that it doesn’t recommend Oil Plus 2C for surfaces used for cutting, because a knife cuts deeper than the oil penetrates. If you use boards on top, any of the finishes in the table works.
Should You Put Polyurethane on Butcher Block?
You can, and it’s the most water-resistant option for a countertop round a sink that you never cut on. The trade-off is repair: a deep scratch in polyurethane means sanding the whole run back and recoating, where an oiled top takes a spot repair. Sand to 180 or 220 and lightly between coats; my guide to sanding between coats of polyurethane has the grits.
Staining a Butcher Block
To change the colour, sand to the grit the stain maker gives (often 150 to 180 rather than 220, so the stain takes evenly), test on the underside, and seal over it with a finish rated for food contact. How to stain wood covers conditioner, application and the mistakes that cause blotches, and Watco’s Butcher Block Oil & Finish also comes in tinted versions.
Sanding Butcher Block by Hand
A small island or a single run can be sanded by hand with a cork or foam block: 120, then 150, then 180 or 220, always with the grain, and long strokes the full length of the top. It takes an afternoon rather than an hour, and hand sanding won’t remove deep burns or black stains, but the result on a top that’s only dry and dull is as good as a machine’s.
How Often to Re-Oil (and the Water Test)
Re-oil when the wood looks dry or water stops beading: drop a little water on the busiest area by the sink, and if it soaks in and darkens the wood instead of sitting in a bead, it’s time. On a mineral-oiled block that can be every few weeks; on a hardwax oil it’s much less often. Howard’s own advice for its butcher block conditioner is simply to reapply whenever the wood looks or feels dry. For maintenance coats you usually only need a light scuff with your final grit or a fine pad, not a full sand back.
The Tools and Oils for Sanding a Worktop
Everything below is on sale on Amazon today; the specs and claims are from the makers’ listings and data sheets.
Bosch ROS20VSC 5″ Random Orbital Sander

Best Sander for Worktops
The random orbital sander does nearly all the work on a worktop, from the 80 grit pass on a stained top to the final grit before oil. The ROS20VSC has a 2.5 amp motor, variable speed from 7,500 to 12,000 OPM (turn it down for the final pass and on end grain), hook-and-loop discs and a microfilter canister with a vacuum adapter, which matters when you’re sanding indoors. My Bosch ROS20VSC review has the details.
- ✅ Swirl-free on large flat tops
- ✅ Variable speed for the last grit
- ✅ Vacuum adapter for kitchen dust
- ❌ Round pad misses inside corners
Best For: Full worktop and butcher block refinishing, from stripping to final grit.
SKIL SR211601 5″ Random Orbital Sander

Budget Pick
If you’re sanding one kitchen and not much else, a budget orbital is enough. SKIL lists a 2.8 amp motor at 13,000 orbits per minute, variable speed control, and a cyclonic dust box with a transparent canister, so you can see when to empty it. A counterweight and a soft grip keep vibration down over a long run of worktop.
- ✅ Variable speed at a budget price
- ✅ See-through dust canister
- ❌ Onboard dust box catches less than a vacuum
Best For: A one-off worktop or butcher block refinish on a budget.
DEWALT DWE6411K 1/4 Sheet Palm Sander

Best for Corners and Along the Wall
A square pad reaches the inside corner of an L-shaped worktop and the strip along the upstand that a round pad leaves behind. The DWE6411K has a 2.3 amp motor at 14,000 OPM, a foam pad, a paper clamp that takes 1/4 sheets cut from any standard sheet, and a locking dust port. The sheet sander vs random orbital sander comparison explains why most people end up with both.
- ✅ Reaches 90-degree inside corners
- ✅ Uses cheap sheet paper in any grit
- ❌ Slower than an orbital on the open top
Best For: Corners, the back edge and round the sink.
POWERTEC 5″ Sanding Disc Assortment, 80 to 220 Grit

Best Discs for the Grit Steps
A worktop uses every grit from 80 to 220, and buying a box of each costs more than an assortment. This pack has 10 discs each of 80, 100, 120, 150 and 220 grit (50 in total), aluminium oxide on a hook-and-loop backing with the 5″ 8-hole pattern that fits the Bosch, the SKIL and most other random orbital sanders. If your finish wants a 180 step, add a box of 180. The best sanding discs guide has premium options.
- ✅ Five grits, 10 of each
- ✅ Fits standard 5″ 8-hole pads
- ❌ No 180 grit in the pack
Best For: One full worktop refinish, start to finish.
Rubio Monocoat Oil Plus 2C

Best One-Coat Hardwax Oil
Rubio’s two-part oil is one coat only: you mix the oil and accelerator 3 to 1, spread a thin coat, and buff off all the excess. Rubio says to sand to 120, or 150 at most, that it’s safe for light use after 24 hours and fully cured in 5 days, and that it’s food contact compliant certified, though not recommended for surfaces you cut on. The “Pure” version is clear; there are tinted ones too. Because it bonds only to raw wood, you don’t stack coats on it later.
- ✅ One coat, done in a day
- ✅ Food contact compliant once cured
- ❌ Not for chopping directly on
- ❌ Excess must come off within minutes
Best For: Oak and walnut worktops round a sink, and anyone who wants the job finished in a day.
Osmo TopOil Clear Matte

Best Worktop Oil for Easy Maintenance
Osmo describes TopOil as an oil and wax coating for wood surfaces in direct contact with food, made for kitchen worktops and tabletops. The maker gives a final sanding of P120 to 180 depending on species, two coats on bare wood, about 8 to 10 hours drying per coat for the clear versions, and coverage of about 24 m² per litre. It’s tested to EN 1186 for food contact and EN 71.3 for toys. For maintenance, one coat on the clean surface is usually enough, without sanding.
- ✅ Made for food-contact worktops
- ✅ Refresh coats without sanding
- ❌ Two coats with a long dry between
Best For: UK-style oak and beech worktops you want to top up once or twice a year.
Watco Danish Oil, Natural

Classic Danish Oil
Watco’s data sheet calls it a blend of penetrating oil and varnish that hardens in the wood, not on the wood. It asks you to sand 120, 150, 180 and 220, let each coat penetrate for 5 to 10 minutes and wipe off all the excess, and gives touch dry in 6 to 8 hours and a 72 hour recoat. For maintenance, Watco says to burnish with fine steel wool or 220 grit and apply fresh oil. One honest note: the Danish Oil data sheet makes no food-contact claim; for a surface you prepare food on, Watco’s own answer is the Butcher Block Oil & Finish below.
- ✅ Warm, hand-rubbed look
- ✅ Easy spot repairs
- ❌ 72 hours between coats
- ❌ No food-contact claim from the maker
Best For: Worktop edges, breakfast bars and islands that aren’t a food-prep area.
Watco Butcher Block Oil & Finish
Best Food-Safe Oil Finish for Butcher Block
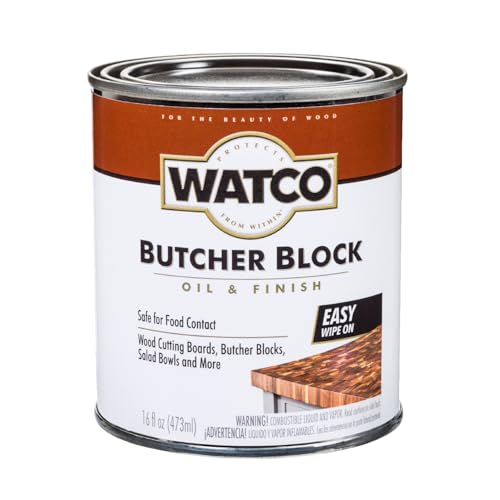
A tung oil alkyd made for butcher blocks, cutting boards and salad bowls, which Watco says is safe for food contact when fully dried (it meets 21 CFR 175.300). The data sheet asks for sanding 150, 180 and 220, a 6 hour wait between coats with a light scuff at 400 grit, and 72 hours before normal use. Hand wash the surface before food goes on it, and add coats to build the finish.
- ✅ Food-contact rating on the data sheet
- ✅ Recoat the same day
- ❌ Three days before normal use
Best For: US butcher block countertops used for food prep.
Howard Butcher Block Conditioner

Best Mineral Oil for Chopping Surfaces
Howard’s conditioner is USP grade mineral oil with beeswax and carnauba wax, and the maker says the mineral oil exceeds US FDA regulations for direct and indirect food contact. Apply with a soft cloth and let it stand at least an hour, or overnight; on thick or new wood Howard suggests 3 to 4 coats, and after that you reapply whenever the wood looks dry. It never cures, so it’s the easiest finish to renew and the least protective.
- ✅ Food-grade, safe to chop on
- ✅ No curing time
- ❌ Needs frequent top-ups
Best For: Butcher block islands and chopping areas.
How I Put This Guide Together
The grits, coats, drying times and food-contact statements in the tables come from the makers’ own documents: Rubio Monocoat’s Oil Plus 2C instructions and countertop renovation guide, Osmo’s TopOil product page, Rust-Oleum’s technical data sheets for Watco Danish Oil (WAT-02) and Watco Butcher Block Oil & Finish (WAT-04), and Howard’s product page for its Butcher Block Conditioner. The sander specs are from the makers’ listings. The products are on sale on Amazon today; I don’t show customer ratings or prices, which change daily. More on how I choose the sanders I recommend.
✨ The Bottom Line
Sanding and refinishing a wooden worktop or a butcher block countertop is entirely manageable as a DIY project when you follow a logical progression through the grits and avoid two critical mistakes: stopping at the wrong final grit for your oil, and leaving excess oil on the surface. Sand with a random orbital sander from 80 or 120, stop at 120 to 150 for Rubio Monocoat or Osmo TopOil and at 220 for the traditional oils, wipe thoroughly before oiling, and you’ll end up with a worktop that looks freshly installed. After that, maintain it with a simple water-bead test and re-oil when needed: it’s genuinely one of the most rewarding DIY finishes you can do.
❓ Frequently Asked Questions
What sandpaper should you use on wooden worktops?+
Do I need to sand my worktop before re-oiling?+
What is the best sander for sanding worktops?+
How do you sand butcher block by hand?+
Should I put polyurethane on my butcher block countertop?+
Why is my wooden worktop sticky after oiling?+
How often should wooden worktops be oiled?+
What is the golden rule of sanding?+
How do you bring a tired wooden worktop back to life?+
What’s the pencil trick when sanding?+
Conclusion
A wooden worktop that’s been properly sanded and oiled is one of the best-looking surfaces in any kitchen. I’ve found that the difference between an average result and a beautiful one almost always comes down to two things: sanding systematically through all the grits without shortcuts, and wiping off excess oil completely so it absorbs evenly rather than drying tacky.
Start with a clear assessment of your worktop’s condition: that determines which grit to begin with. Progress through the sequence, vacuum between every grit change, stop at the final grit your oil asks for, and then apply it in thin coats with all excess wiped away. Maintain on the water-bead test schedule, and your worktop will stay beautiful for years.
For more detailed guidance on sanding techniques and restoration approaches, check out the SanderScore blog, where you’ll find comprehensive guides on everything from refinishing wood furniture and refinishing kitchen cabinets to refinishing tables and sanding wood floors yourself. If you have questions about a specific worktop situation, feel free to leave them in the comments below. Happy sanding.
